This guide was written with regards to Windows 11, however this will work on any other install, e.g. Ubuntu or Debian. We will set up SSL/HTTPS in this guide using Caddy. For more information, you can visit How to setup a HTTPs tunnel on Playit
This tunnel requires playit premium , as well as a gateway and a domain, which are included in this plan!
Create a new gateway
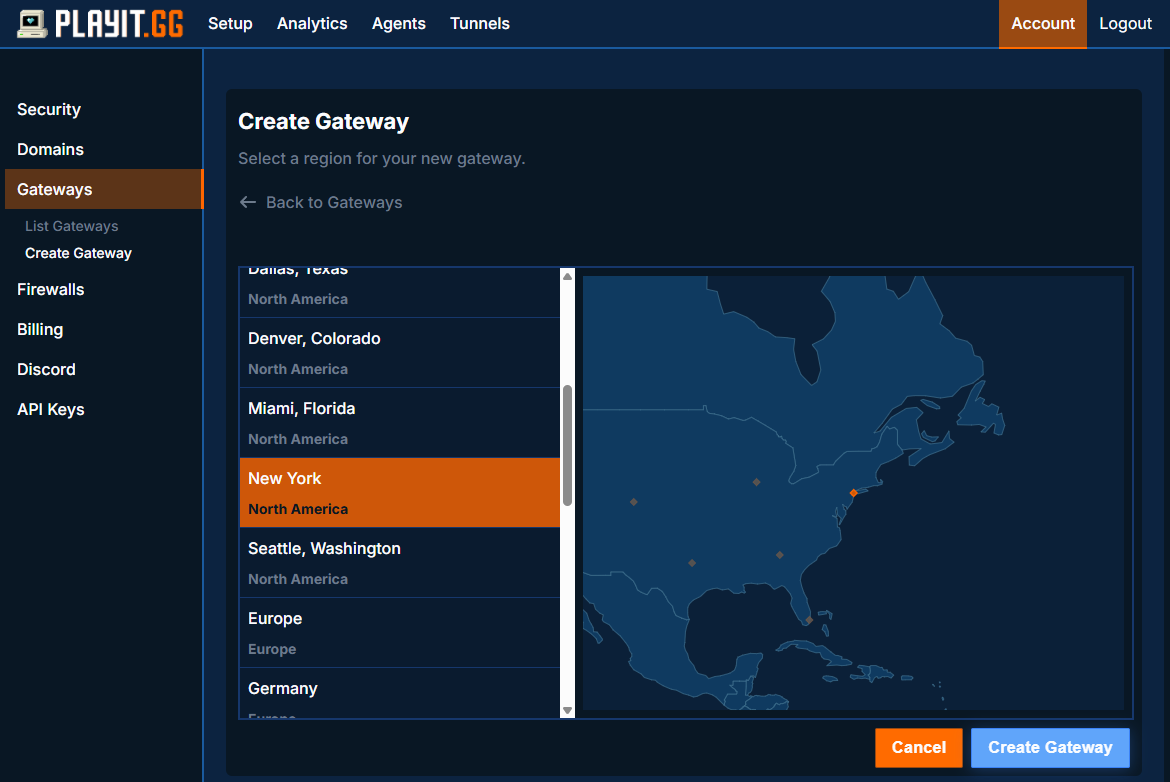
Navigate to Create Gateway (Account -> Create Gateway) and choose the closest region near you.
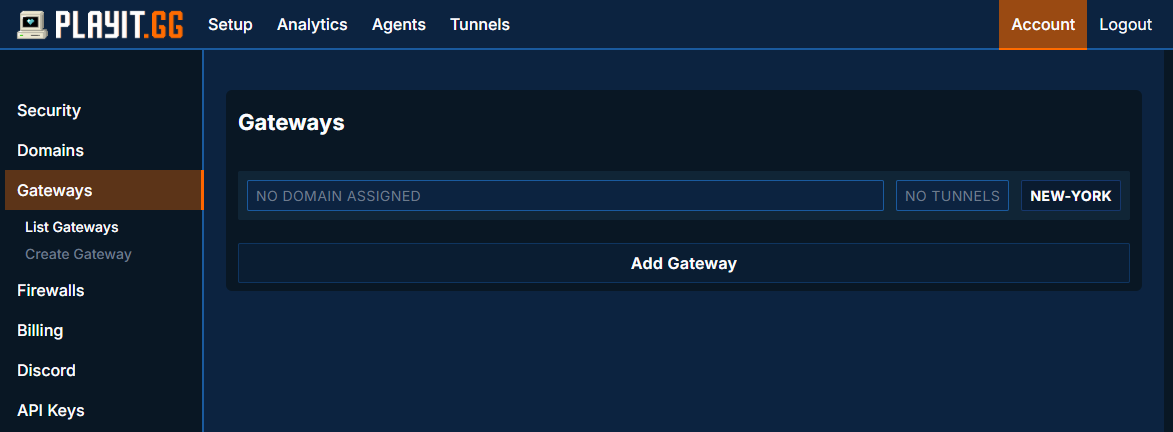
You’ll then be brought to a list of created gateways
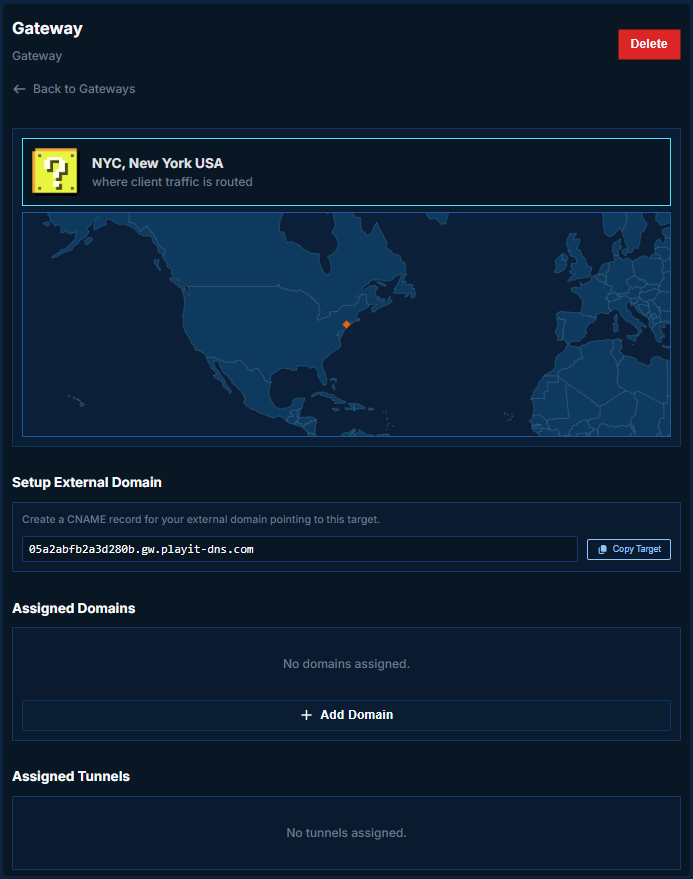
Click on the gateway, and you’ll see a new menu of options. We’ll be adding a new assigned domain by clicking on Add Domain
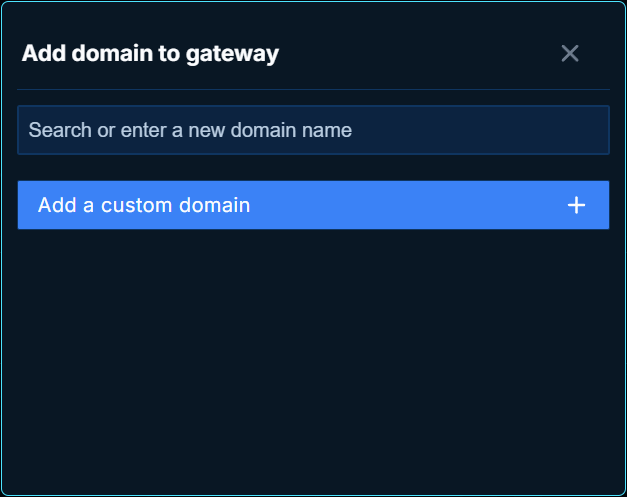
You can then create a new .playit.plus domain for your gateway. This can be named anything. For example, we’ll use myampserver.playit.plus.
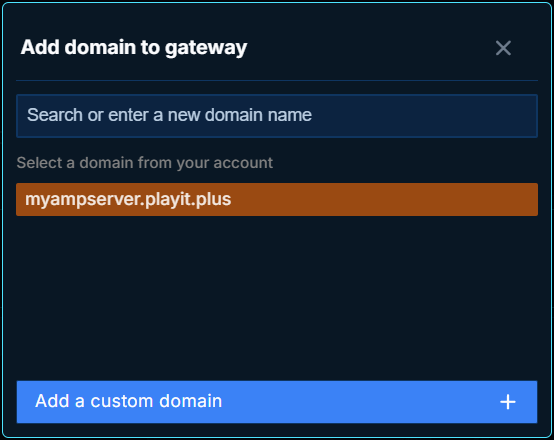
Go back to your gateway settings, click Add Domain and the newly created domain will appear.
Create the Tunnel
Create and configure your tunnel as follows:
- Type: HTTPs
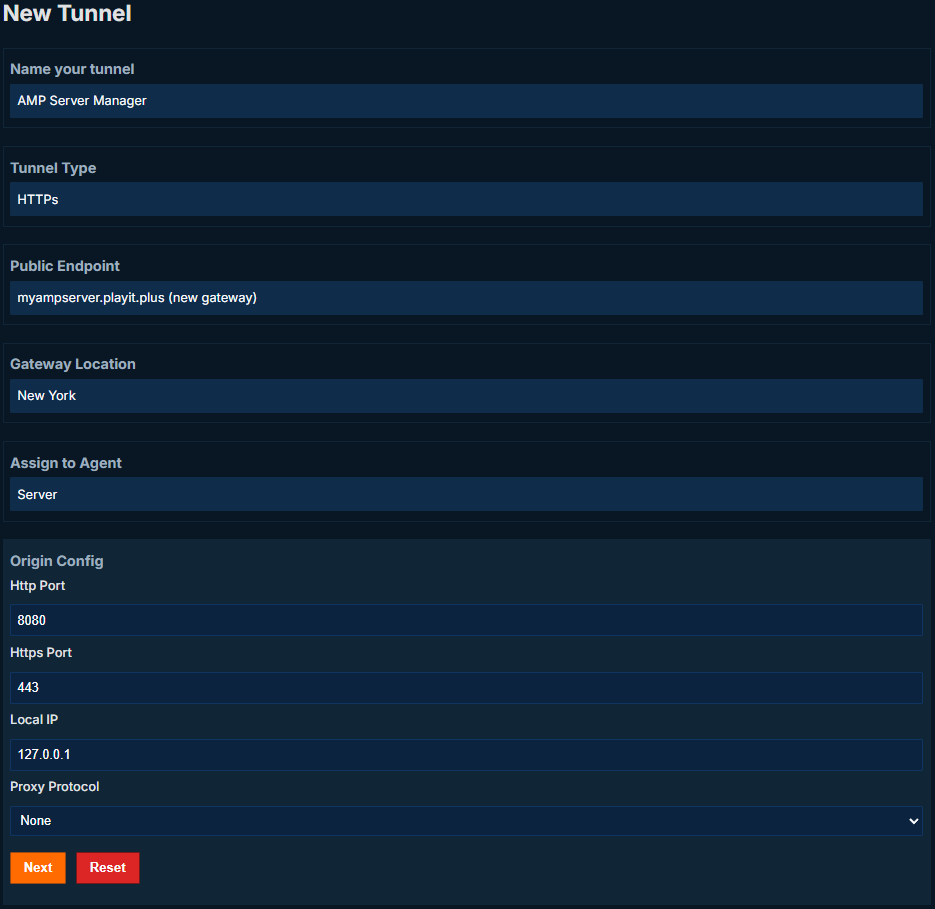
At this point, AMP should be accessible, but it doesn’t have SSL. This means that any browser that tries to visit https://myampserver.playit.plus/ will get a security warning, as there isn’t a certificate attached to this server yet.
playit.gg does not terminate SSL for users, however all users can terminate this how they see fit.
Configure AMP Server Manager
Navigate to Configuration -> Instance Deployment -> Deployment Defaults and set Default Auth Server to the domain name provided by playit.
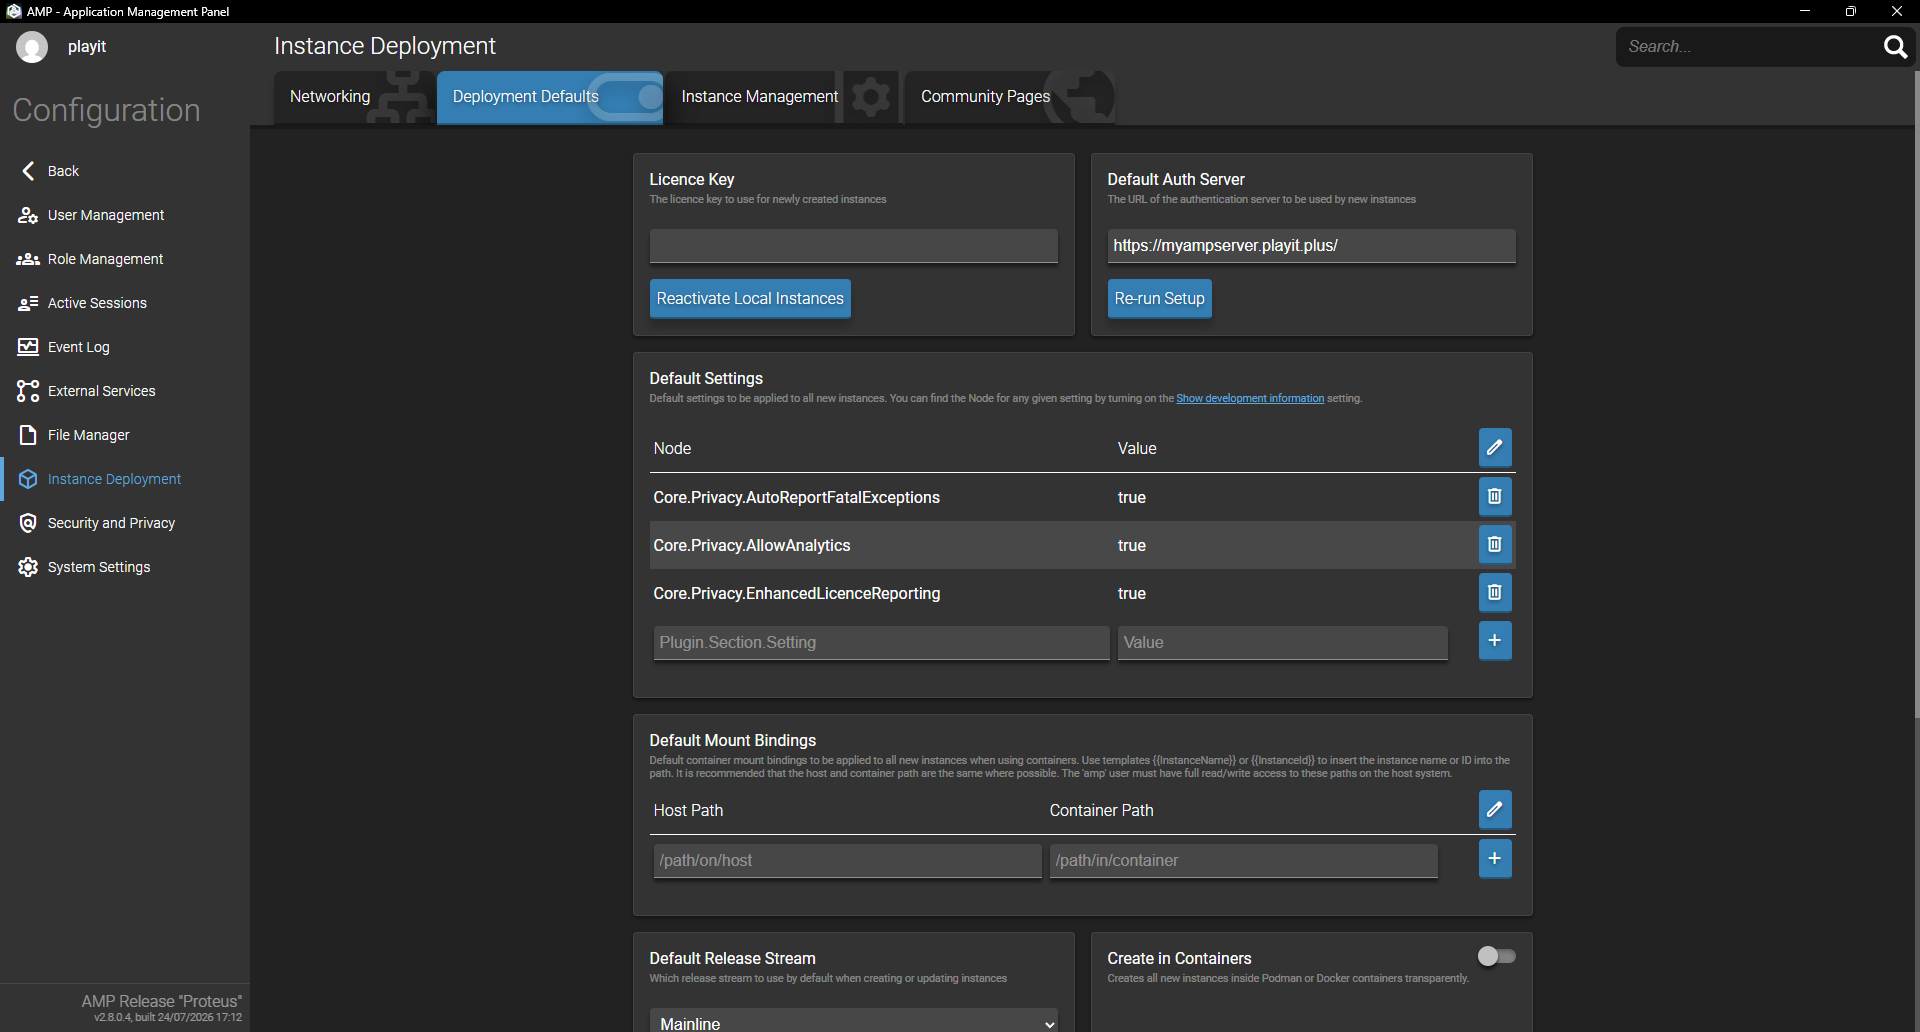
Click Re-run Setup and click through the settings on the next few pages.
Installing Caddy on Windows
For this, we will be installing Caddy using a third-party Windows package manager, Chocolatey. If you prefer to use a different package manager or using a different system, see Install - Caddy Documentation [caddyserver.com]
Installing Chocolatey
Using the instructions from chocolatey.org , follow the install guide for Windows. Open a Powershell window as Administrator. This command is derived directly from Chocolatey, with no modifications.
Please inspect https://community.chocolatey.org/install.ps1 prior to running any of these scripts to ensure safety. This script download a remote PowerShell script and executes it on your machine. Learn more at Chocolatey’s Security Information [docs.chocolatey.org] page.
Set-ExecutionPolicy Bypass -Scope Process -Force; [System.Net.ServicePointManager]::SecurityProtocol = [System.Net.ServicePointManager]::SecurityProtocol -bor 3072; iex ((New-Object System.Net.WebClient).DownloadString('https://community.chocolatey.org/install.ps1'))
Install Caddy using Chocolatey
Once Chocolatey is installed on your machine, you can then use it to download and install Caddy by using choco install caddy in an elevated command prompt. This is the warning you will receive if it is not elevated:
Chocolatey v2.7.3
Chocolatey detected you are not running from an elevated command shell
 (cmd/powershell).

 You may experience errors - many functions/packages
 require admin rights. Only advanced users should run choco w/out an
 elevated shell. When you open the command shell, you should ensure
 that you do so with "Run as Administrator" selected. If you are
 attempting to use Chocolatey in a non-administrator setting, you
 must select a different location other than the default install
 location. See
 https://docs.chocolatey.org/en-us/choco/setup#non-administrative-install
 for details.


 Do you want to continue?([Y]es/[N]o):
Configure Caddyfile
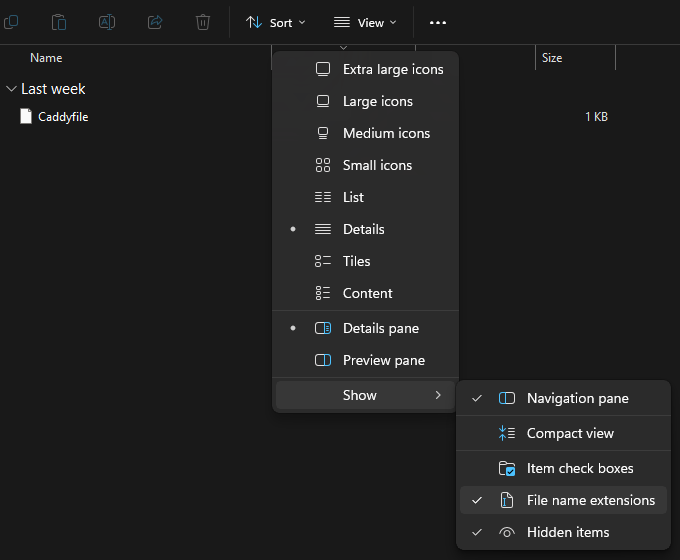
Here’s our configuration example for Caddy. Create a new file without an extension. Turn on File Extensions in File Explorer, and rename it.
://myampserver.playit.plus {
    reverse_proxy localhost:8080 {
        header_up Host {upstream_hostport}
    }
}
You should now have an extensionless file called Caddyfile
Running Caddy
In a command prompt, navigate to Caddy’s folder, where Caddyfile is located.
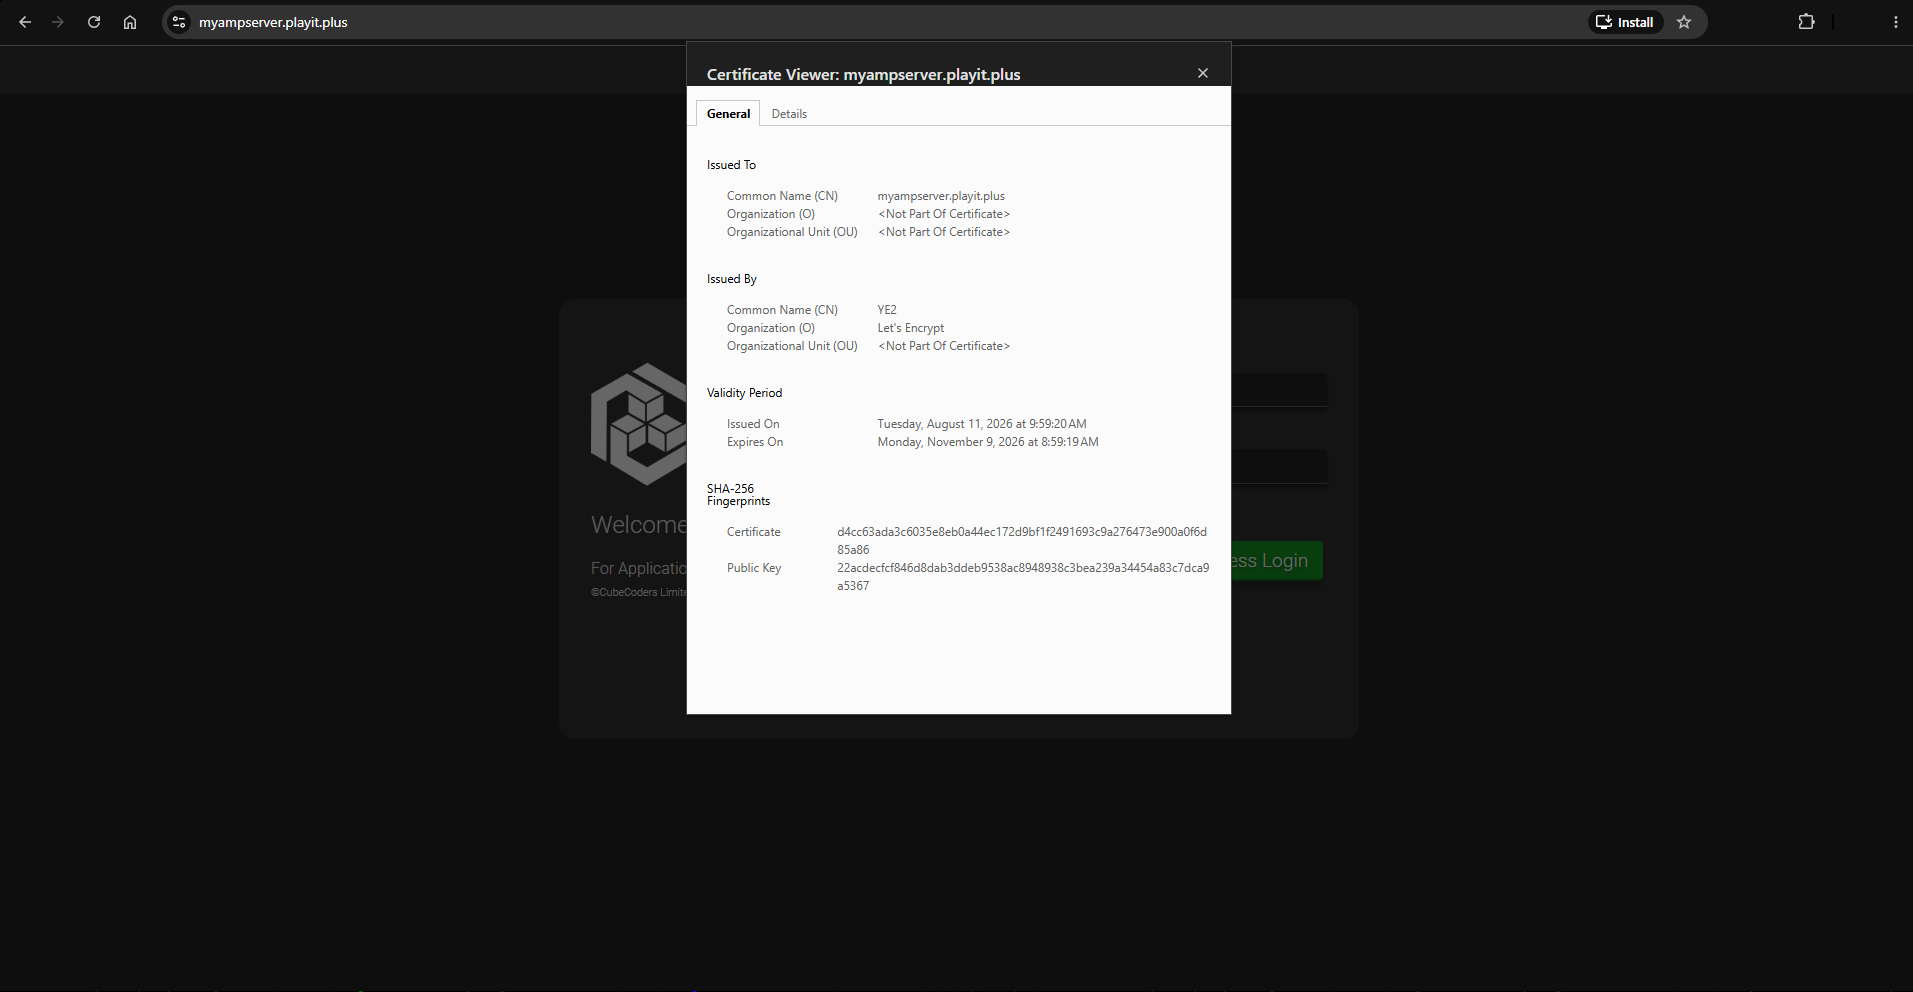
You can now run caddy run to serve your newly created Caddyfile configuration, and AMP should show up with a new certificate.
Testing
In your browser, visit your HTTPs tunnel using the domain you’ve assigned.